
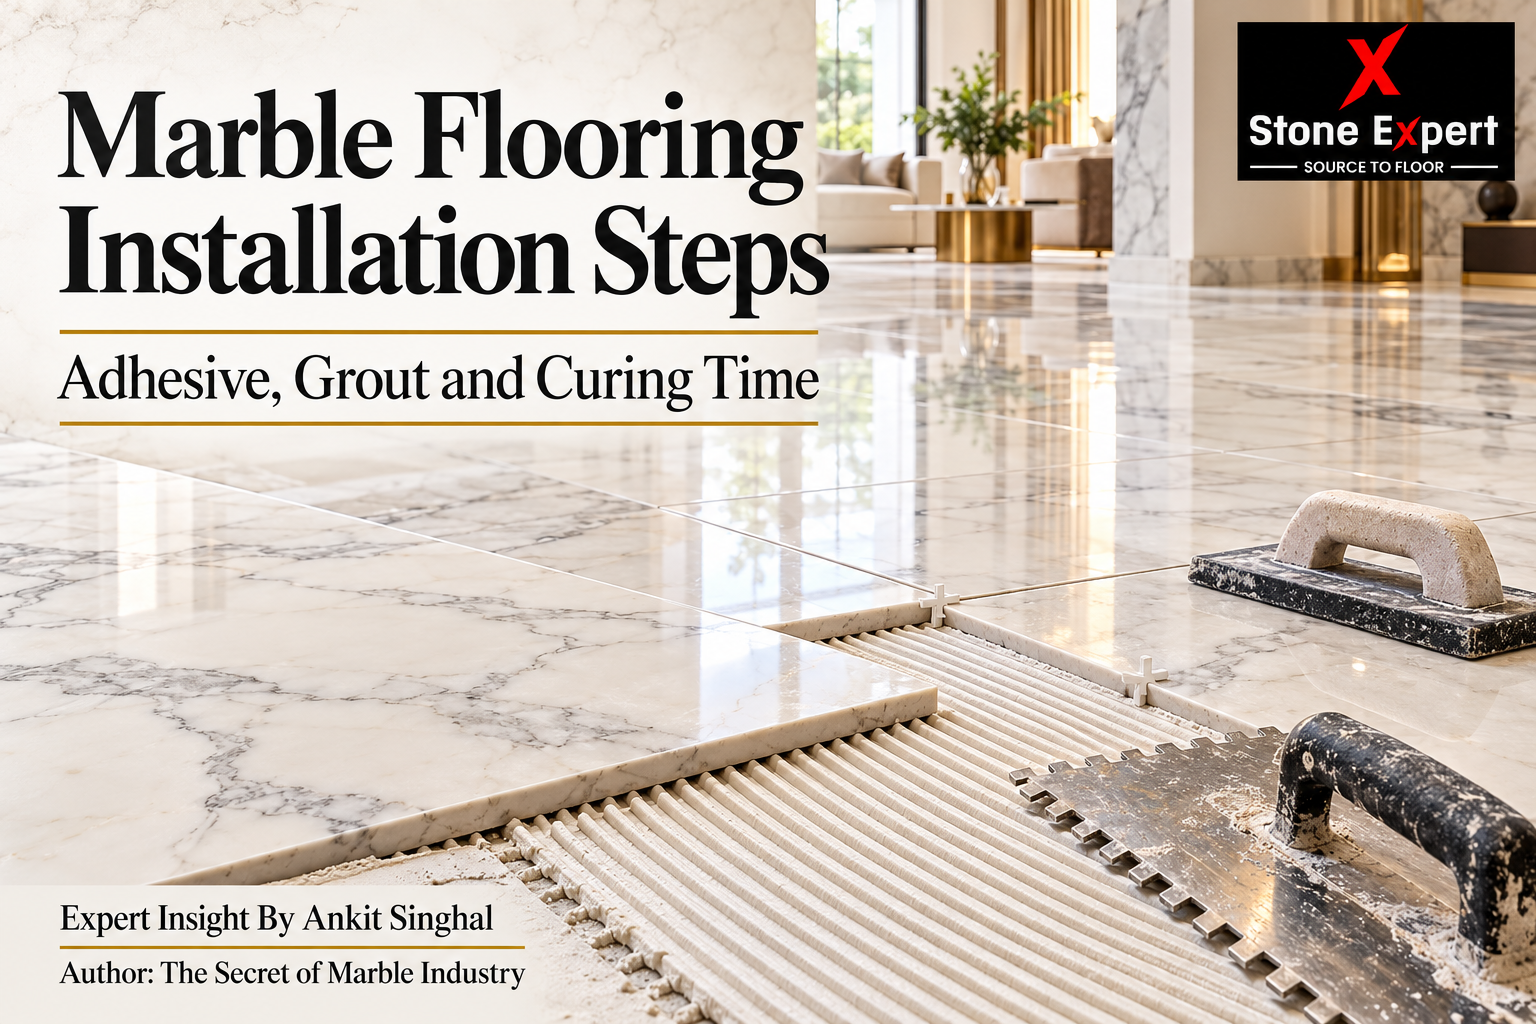
Marble flooring installation steps directly affect the appearance and performance of your floor. Even beautiful slabs can develop uneven edges, stains or loose patches when installers overlook base preparation, adhesive compatibility or curing time.
Whether you choose Italian Marble or another natural marble, plan the installation before work begins. A suitable fixing system helps protect your investment and brings out the stone’s natural character.
1. Inspect the Marble and Plan the Layout
First, check slab thickness, dimensions, shade variation and visible damage. Next, dry-lay the pieces to decide vein direction, borders and cutting positions.
For bold patterns such as Italian Statuario Marble, layout planning helps create a balanced floor. Number the pieces before lifting them so the installer can follow the approved arrangement.
Also, confirm finished floor levels around doors, adjoining rooms and staircases.
2. Prepare a Stable, Level Base
The base must be sound, clean and suitable for the chosen installation system. Remove dust, oil, loose material and anything that could weaken adhesion.
Repair defects and investigate cracks before covering them. Additionally, check substrate moisture against the adhesive manufacturer’s limits. In bathrooms and other wet areas, complete the specified waterproofing system before fixing marble.
Use a suitable levelling material where necessary. Adhesive should stay within its approved bed thickness rather than compensate for major floor unevenness.
3. Choose the Right Marble Flooring Adhesive
Select an adhesive approved for the actual stone, slab size, backing and substrate. For pale or translucent marble, a compatible white adhesive can help reduce colour show-through.
However, white colour alone does not guarantee suitability. Moisture-sensitive marble may require a rapid-setting or reaction-resin system. Resin-backed slabs also need specific compatibility checks. MAPEI’s guidance identifies special adhesive systems for moisture-sensitive stone. Mapei
Before installing the full floor, test the proposed system on a sample for staining, warping and bonding.
4. Fix the Marble with Even Support
Mix adhesive according to the product instructions. Avoid adding extra water or using material beyond its working time.
Spread it with the specified notched trowel and back-butter where required. Then, bed each piece firmly to achieve the specified coverage. Lift pieces periodically to check adhesive transfer, particularly beneath corners and edges.
Maintain the planned joints and check levels continuously. Spot fixing can leave unsupported areas beneath the stone.
5. Apply Compatible Grout
Grout fills the joints between marble pieces. Choose a product suitable for natural stone, the joint width and the intended conditions.
Test grout on an offcut first, especially with polished or porous marble. Some products can stain the edges or affect the finish.
Wait until the adhesive permits grouting. Clean residue within the grout’s recommended cleaning window, and avoid acidic cleaners. Keep movement joints clear of rigid grout; use the specified flexible sealant.
6. Follow the Correct Marble Flooring Curing Time
Marble flooring curing time depends on the complete system and site conditions. Grouting, light walking and full use are separate milestones.
For example, MAPEI Keraflex lists approximately 24 hours before floor grouting and light foot traffic, with approximately 14 days before full use. These timings apply to that product under its stated conditions; they are not universal marble installation rules. Mapei
| Stage | What to confirm |
|---|---|
| Grouting | Adhesive’s minimum waiting period |
| Light walking | Adhesive and grout traffic limits |
| Furniture placement | Readiness for the intended load |
| Polishing or sealing | Required cure and moisture conditions |
Do not flood an adhesive-fixed floor as a routine curing method. Follow the selected system’s instructions.
7. Finish and Protect the Floor
After the required curing period, complete polishing if the installation needs it. Apply a compatible sealer only when the stone is sufficiently dry and the product instructions permit application.
Finally, protect the floor during remaining construction work. Use suitable breathable protection, avoid adhesive tape directly on marble, and clean with a pH-neutral stone cleaner.
For further reading, explore Marble Crack Causes on Stone Expert.
FAQ
Which adhesive is best for marble flooring?
The best choice depends on the marble’s moisture sensitivity, backing, size and substrate. Ask for a manufacturer-approved system for your actual slabs.
Can marble flooring be installed without joints?
Avoid tightly butting slabs together. The installation needs suitable joints and movement provisions to accommodate dimensional changes.
Is epoxy grout suitable for marble?
Some epoxy grouts are suitable, but compatibility varies. Test for staining and surface effects before applying them across the floor.
When can furniture be placed on new marble flooring?
Wait until the adhesive and grout system permits the intended loading. Permission for light walking does not automatically mean readiness for heavy furniture.
Contact Stone Expert
Planning marble flooring for a home, villa, hotel or apartment? Contact Shree Ram Stones to discuss slab selection, quantities and project requirements.
- Call/WhatsApp: +91 92521 01111
- Email: ceo@shreeramexpo.in
- Additional email: shreeramexpo@gmail.com
- Location: Kishangarh, Rajasthan
- Website: Shree Ram Stones